Master the Art of Night Photography: Complete Guide to Gear, Settings, and Creative Techniques
Night photography opens up a unique way to capture scenes that many people never notice after the sun sets. City lights glow, stars emerge, and shadows create dramatic moods. Yet, photographing in low light can be tricky: images often turn out grainy, blurry, or poorly exposed. Our content provides practical steps to overcome those challenges. You’ll learn the key settings, gear, and creative techniques that help photographers produce crisp, vibrant night images. Even if you’re interested in cityscapes, starry skies, or portraits under neon lights, these tips will help you plan, shoot, and edit stunning photos.
Key Concepts You Must Understand
Understanding a few core principles will make every night photo session more successful. Learn how the exposure triangle, ISO, aperture, and shutter speed work in low light, how a camera sensor captures scenes differently than the human eye, and the main styles of night photography, such as cityscapes, star trails, and light painting. Grasping these fundamentals gives you the control needed to create sharp, well-exposed images after dark.
Light, Darkness, and Exposure Basics
Light behaves differently at night. Street lamps, moonlight, and distant neon signs all vary in brightness and color. To capture these differences, understand the exposure triangle: ISO, aperture, and shutter speed. At night, you’ll often need slower shutter speeds to let in more light, wider apertures (low f-numbers) for brighter images, and higher ISO settings to make the camera sensor more sensitive. Adjusting these three settings together lets you achieve the right exposure without excessive noise or motion blur.
Human Vision vs Camera Vision
Your eyes adapt well to low light, but camera sensors do not. While you can see details in dim conditions, cameras struggle with dark shadows and bright highlights at the same time. Night scenes often have a high dynamic range, bright lights next to deep darkness. Learning to read your histogram and using manual settings ensures you capture details in both highlights and shadows without overexposing streetlights or underexposing the sky.
Types and Styles of Night Photography
Night photography includes several styles, each with its own approach:
- Urban Cityscapes – Skyscrapers, bridges, and traffic trails create lively compositions.
- Astrophotography – Milky Way, constellations, and star trails require long exposures in dark locations.
- Night Portraits – Use soft continuous lighting or a strobe to highlight subjects while keeping the background dark.
- Light Painting – Move a flashlight or glow stick during a long exposure for artistic streaks of color.
- Moon Photography – Capture moon phases, eclipses, or moonlit landscapes with a telephoto lens.
Gear & Equipment for Night Photography
Camera Bodies and Sensors
A camera with strong low-light performance makes a big difference. Full-frame sensors handle higher ISO settings with less noise, but modern APS-C and Micro Four-Thirds cameras can work well too. Look for models with good dynamic range, in-body stabilization, and the ability to shoot in RAW. RAW files preserve more shadow detail, which is critical for night editing.
Lenses: What to Look For
Fast lenses with wide apertures, such as f/1.4 or f/2.8, allow more light to hit the sensor. Wide-angle lenses are excellent for landscapes and astrophotography, while telephoto lenses are ideal for moon shots or isolating distant subjects. Prime lenses are often sharper and brighter, but high-quality zooms can offer flexibility if you move between wide and tight shots.
Accessories and Stabilization
A sturdy tripod is essential for sharp images during long exposures. A ball head or pan-and-tilt head provides smooth adjustments. A remote shutter release or the camera’s self-timer reduces vibration. Add a lens hood to prevent flare from streetlights and a lens heater band if you’re shooting in cold, damp conditions to avoid fogging.
Additional Gear
Consider a small LED light panel or continuous light if you plan to photograph people. Reflectors help balance light on a subject’s face. Always pack extra batteries; long exposures drain them quickly, and carry a weatherproof bag or rain cover to protect your equipment. For late-night outings, a headlamp or small flashlight helps with camera adjustments while keeping your hands free.
Camera Settings & Techniques
Choosing the Right Mode
Manual mode gives you full control, which is important at night. Aperture Priority mode can work if you prefer the camera to choose shutter speed, but be ready to adjust exposure compensation. For extremely long exposures like star trails, use Bulb mode and a remote shutter so you can hold the shutter open as long as needed.
Shutter Speed Techniques
Shutter speed determines how motion appears. Use long exposures (10–30 seconds or more) for light trails or star movement. For scenes with people or moving cars where you want crisp detail, aim for faster speeds, around 1/60 second, while compensating with a wider aperture or higher ISO. Remember that the longer the exposure, the more stable your setup must be.
Aperture and Depth of Field
A wide aperture (low f-number) brightens the image and creates shallow depth of field. This is useful for portraits or isolating a subject. For cityscapes or stars where you need everything sharp, use f/8 to f/11 and adjust shutter speed and ISO to maintain correct exposure. Stopping down also creates attractive starburst effects on point light sources like street lamps.
ISO Settings: Balancing Noise and Exposure
Raising ISO makes the sensor more sensitive but introduces noise. Start with ISO 800 to 1600 for city scenes and go up to 3200 or higher for astrophotography if your camera handles it well. Test different levels to find the balance between brightness and grain that works for your gear and style.
Focusing in the Dark
Autofocus often struggles at night. Switch to manual focus and use live view to zoom in on a bright object, such as a distant light or star. Another method is to set the lens to infinity, then slightly adjust back until sharp. For landscapes, calculate the hyperfocal distance to keep foreground and background in focus.
White Balance and Color Temperature
Mixed lighting, like neon signs and tungsten street lamps, can create odd color casts. Set a custom white balance using a gray card or manually adjust Kelvin settings. Shooting in RAW allows you to fine-tune white balance later, but getting it close in-camera saves editing time and preserves natural colors.
Planning & Pre-shoot Preparation
Scouting Locations & Timing
Finding the right spot and time is vital for successful night photography. Start by identifying areas with interesting features, bridges, skylines, or open fields for stars. The blue hour, which occurs shortly after sunset or before sunrise, gives a soft glow that works well for cityscapes. The golden hour offers warm tones just before sunset that transition beautifully into evening shots. When shooting stars or the Milky Way, check moon phases; a new moon provides the darkest skies, while a bright moon can illuminate foregrounds. Monitor weather conditions for clear skies or dramatic clouds. Pay attention to light pollution, especially in urban environments, as it can wash out star details. Use tools like dark-sky maps and mobile apps to locate areas with minimal artificial light or to plan for higher elevations where the air is clearer.
Safety, Permissions, Logistics
Night shoots can involve isolated areas or late hours, so prioritize safety. Bring a friend or assistant to help carry gear and keep watch. Inform someone of your location and expected return time. In city settings, check whether a permit is required for tripods or extended shoots, especially in parks or private property. Pack essentials: extra batteries, memory cards, a portable power bank, and protective cases for your equipment. If you plan long exposures, consider warm clothing and weather protection for both you and your gear. Reliable transportation and a clear plan for getting back are also key parts of safe night shooting.
Checklists Before the Shoot
A checklist ensures nothing critical is forgotten. Include your camera body, lenses, tripod, remote shutter, headlamp, extra batteries, memory cards, and lens cleaning cloth. Test your camera settings beforehand and take a few exposure bracketing shots to find the best range for highlights and shadows. Review histograms to confirm that details are not blown out or lost in darkness. Make sure you have a backup plan for storage, such as a second memory card or portable drive. Charging all batteries and packing weatherproof covers for unexpected rain can save a session from being cut short.
Shooting Techniques & Creative Approaches
Composition: Framing, Leading Lines, Silhouettes
Strong composition adds impact to night photographs. Look for leading lines such as streets, bridges, or railings to guide the viewer’s eye. Silhouettes of trees, people, or buildings can create striking contrasts against illuminated backgrounds. Balance elements in the foreground, midground, and background to provide depth. Use reflections from water or shiny surfaces to double the effect of lights. Adjust your perspective by crouching low or finding a high vantage point to capture scenes that feel dynamic and layered.
Motion & Long Exposure Effects
Night photography excels at showing motion through long exposures. Setting the shutter for several seconds allows moving lights, car headlights, passing trains, or even stars, to create bright trails across the frame. Use a sturdy tripod and a remote shutter release to avoid camera shake. Experiment with different shutter speeds: shorter exposures freeze motion with some ambient light, while longer ones capture flowing trails. Light painting adds creative flair; move a small flashlight or LED in front of the camera during a long exposure to draw patterns or highlight a subject.
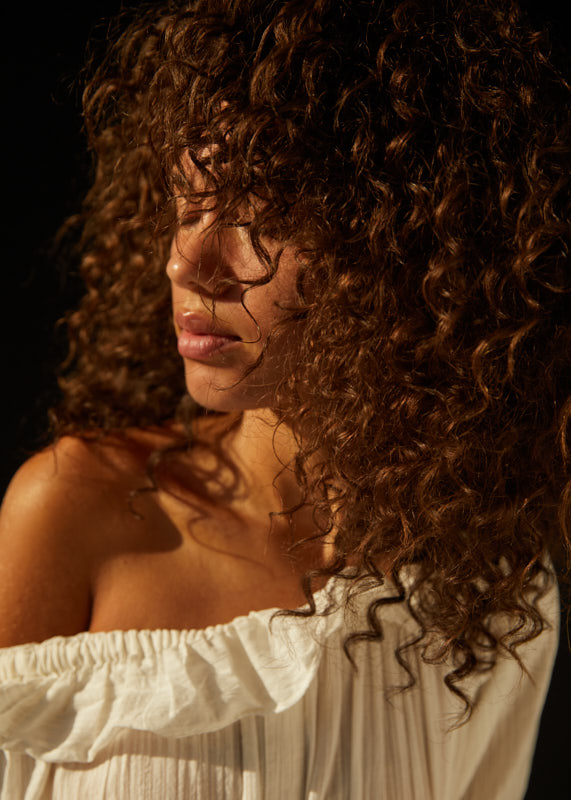
Night Portraits & Artificial Lighting Techniques
Capturing people at night requires controlled lighting. Continuous lighting, like an LED panel, lets you see exactly how light falls on the subject and is great for steady, softer illumination. Strobes or flashes freeze action and provide more power for dramatic effects. Combine ambient street lights or neon signs with these artificial sources to create a balanced scene. Position your subject away from busy backgrounds to reduce distractions, and use a wide aperture to blur surroundings while keeping your subject sharp.
Astrophotography & Milky Way Shooting
For star-filled skies, timing and location matter most. Shoot during a new moon in areas far from city lights. Arrive early to set up and allow your eyes to adjust to the darkness. Use a wide-angle lens with a fast aperture (f/2.8 or lower) and start with settings around ISO 3200, 20–25 second exposures, and manual focus on a bright star. To avoid star trails, apply the 500 rule: divide 500 by your lens’s focal length to find the maximum exposure time in seconds. Advanced techniques like image stacking help reduce noise and bring out more detail in the Milky Way.
Moon & Lunar Shots
The moon is much brighter than the night sky, so proper exposure is critical. Start with settings like f/11, 1/125 second shutter speed, and ISO 100, then adjust as needed. A telephoto lens (300mm or longer) helps fill the frame with the moon’s surface details. Use manual focus and live view zoom to ensure sharpness. Consider compositions where the moon interacts with foreground elements such as buildings or trees to create a sense of scale. Bracketing exposures can also help merge multiple shots for a balanced result when combining the bright moon with darker landscapes.
Post-Processing & Editing Night Photos
Working with RAW Files
Shooting in RAW is essential for night photography because it captures all available data from the camera sensor. Unlike JPEG, which compresses and discards details, RAW files preserve highlights and shadows, giving you more control during editing. This flexibility is especially important for recovering shadow detail in dark areas and balancing bright lights such as street lamps or the moon. When you open a RAW file in editing software, you can adjust exposure, contrast, and color temperature without degrading image quality. Always back up your RAW files so you can revisit them with improved editing tools in the future.
Noise Reduction Techniques
Low-light shooting often introduces noise, grainy specks that can dull image quality. Begin with basic noise reduction in software like Adobe Lightroom or Photoshop. Apply luminance and color noise sliders carefully to smooth grain without losing detail. Programs such as Topaz DeNoise AI or DxO PureRAW offer advanced options for stubborn noise. You can also reduce noise in-camera by enabling long-exposure noise reduction, though this doubles processing time for each shot. Combining multiple exposures through stacking techniques can further minimize noise while enhancing clarity.
Color Correction & White Balance Adjustments
Night scenes often include a mix of light sources, from cool moonlight to warm tungsten streetlights, which can cause unwanted color casts. Use your editing software to fine-tune white balance. Adjust the temperature slider to neutralize orange or blue tints and the tint slider to correct green or magenta shifts. For complex lighting, use selective adjustments or local brushes to correct color in specific areas. Proper color correction brings out natural hues and ensures your final image matches the atmosphere you observed.
Exposure Blending, HDR, Image Stacking
Scenes with bright highlights and deep shadows often exceed a camera’s dynamic range. Exposure blending or HDR (High Dynamic Range) techniques merge multiple shots at different exposures to create a balanced image. For astrophotography, image stacking, combining several exposures of the same scene, reduces noise and enhances star detail. When stacking for star trails or light trails, ensure each frame is aligned and use specialized software like StarStax or Photoshop layers for best results. Careful blending avoids halos and keeps the image natural.
Sharpening & Final Touches
After noise reduction, apply sharpening to enhance edges and fine details. Use masking options in Lightroom to target only the important areas and avoid increasing noise in smooth sections like skies. Check for lens distortion or horizon tilt and use correction tools to straighten lines. Cropping can improve composition and remove distracting elements. Finish with subtle contrast and clarity adjustments to give your night photos a crisp, professional look.
Common Mistakes & How to Avoid Them
- High ISO Without Testing – Excessive ISO leads to noisy, grainy images. Test your camera’s limits and use noise reduction when needed.
- Skipping Stabilization – Handholding long exposures results in blur. Always use a sturdy tripod and remote shutter release.
- Ignoring Dynamic Range – Bright lights next to dark shadows can fool your meter. Check histograms and bracket exposures to capture full detail.
- Over-reliance on Auto Modes – Auto settings often misjudge low-light scenes. Manual control provides more accurate exposure.
- Poor Focus – Autofocus struggles at night. Use manual focus and live view zoom to ensure sharp results.
- Weather Oversights – Moisture or wind can disrupt a shoot. Check forecasts, pack protective gear, and plan for sudden changes.
Frequently Asked Questions About Photography
What is the best camera setting for night photography?
Start with manual mode, f/2.8 aperture, ISO 800–1600, and a shutter speed of 10–20 seconds. Adjust based on ambient light and desired effect.
How do you focus a camera in low light or at night?
Switch to manual focus, use live view, and zoom in on a bright object or star. Slightly adjust until edges appear sharp.
What ISO is good for night sky photography?
ISO 1600–3200 works for most modern cameras. Test your camera’s performance to find the highest usable ISO with acceptable noise.
What lenses are best for night photography?
Fast wide-angle lenses (f/1.4–f/2.8) capture more light and provide sweeping views for cityscapes and stars. Telephoto lenses are ideal for the moon.
How can I reduce noise in night photos?
Use lower ISO when possible, enable in-camera long-exposure noise reduction, and apply software like Lightroom or Topaz DeNoise during editing.
Do I need a tripod for night photography?
Yes, a tripod is essential for sharp images with long exposures and for techniques like light trails or astrophotography.
What time is best to shoot the Milky Way?
During a new moon on clear nights, typically between midnight and 4 a.m., when the sky is darkest and the Milky Way is visible.
How to balance artificial light and natural light at night?
Adjust white balance to neutralize mixed lighting. Use gels on flashes or adjust color temperature in post-processing for harmony.
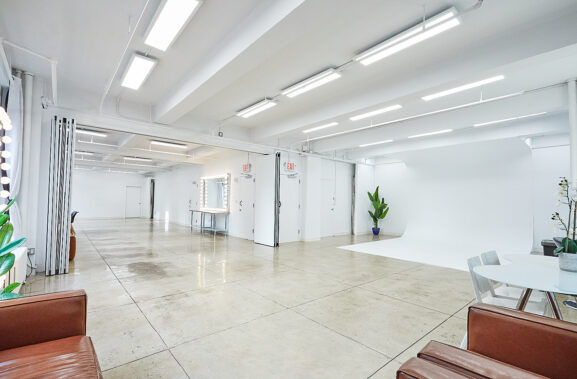
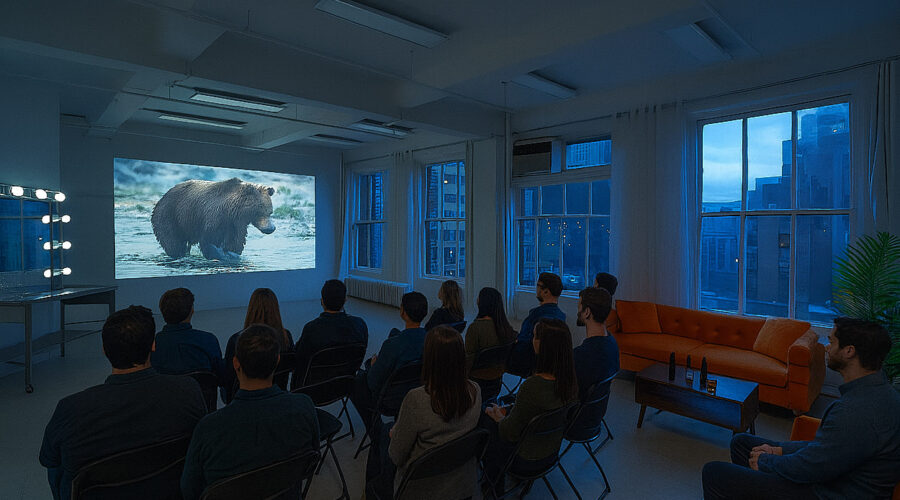
How Love Studios NYC Can Help You Master Night Photography
Studio spaces available here are ideal for night or low-light shoots, offering controlled environments to replicate city evenings or dramatic shadows. Adjustable continuous lights and optional strobe equipment allow experimentation with different setups. The staff assists with gear setup, props, and lighting control to achieve the look you want. Flexible booking times make it easy to schedule sessions after dark, with access to ample power and quiet surroundings. Photographers who have worked in these spaces often share before-and-after shots showing how studio lighting can recreate the feeling of an outdoor night scene.
Key Takeaways for Mastering Night Photography
Mastering night photography means understanding your camera settings, preparing thoroughly, and applying creative techniques in the field and during editing. By planning each step, from scouting locations to post-processing, you can capture sharp, vibrant images that stand out. Practice regularly, review your results, and refine your approach to build confidence in low light. For those looking to experiment with controlled lighting or late-night sessions, the studios and equipment available at Love Studios NYC offer everything needed to bring your vision to life.